Are you tired of dealing with smoky kitchens and stubborn grease stains? A kitchen chimney can be your ultimate savior, but it needs regular maintenance to function efficiently.
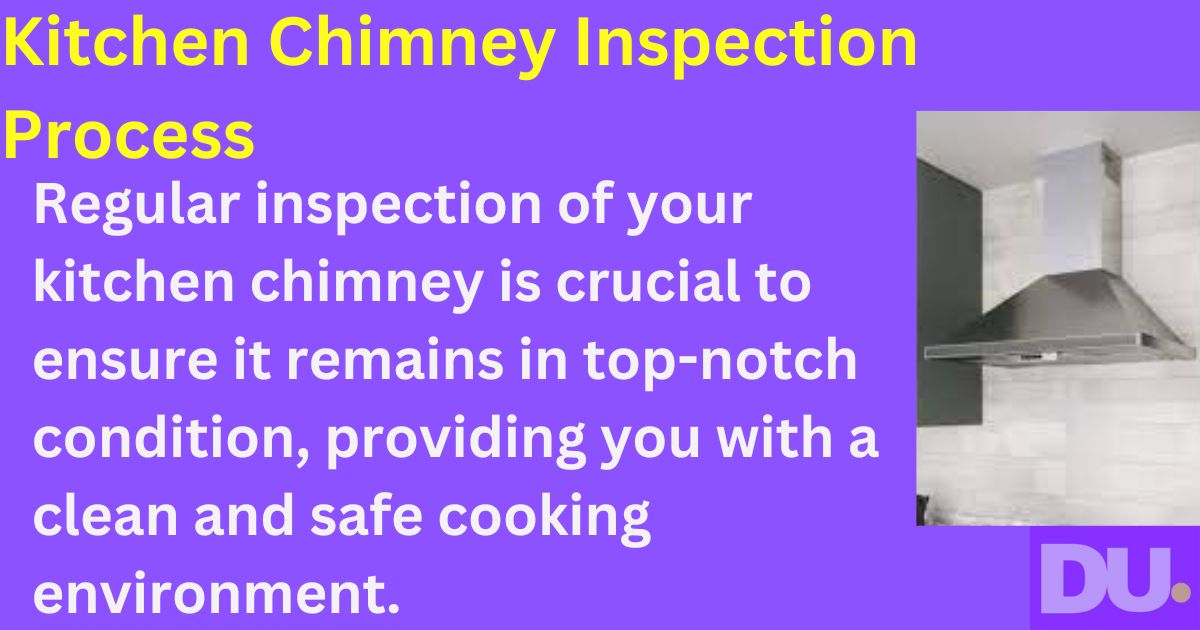
Regular inspection of your kitchen chimney is crucial to ensure it remains in top-notch condition, providing you with a clean and safe cooking environment.
In this blog, we will walk you through the top 10 kitchen chimney inspection process, covering everything from simple DIY checks to professional servicing.
So, let’s dive in and learn how to keep your kitchen chimney running smoothly.
The Importance of Kitchen Chimney Inspection
A kitchen chimney plays a vital role in keeping your kitchen fresh and free from harmful pollutants.
It filters out smoke, grease, and other impurities, preventing them from spreading throughout your home.
Regular inspection not only prolongs the life of your chimney but also ensures its efficiency, saving you from potential hazards and costly repairs.
Top 10 Kitchen Chimney Inspection Process
1. Visual Inspection:
When it comes to maintaining a safe and efficient kitchen, regular inspections of your kitchen chimney are of utmost importance.
As an essential component of your kitchen’s ventilation system, the chimney plays a critical role in removing smoke, fumes, and airborne grease, ensuring a healthy cooking environment.
We will delve into the significance of visual inspections for your kitchen chimney and why they are vital for every homeowner.
Why Visual Inspection Matter?
Visual inspections of your kitchen chimney are essential to identify potential issues before they escalate into major problems.
A.Safety Concerns
A visual inspection allows you to spot creosote buildup, cracks, or blockages in the chimney. Creosote is a highly flammable substance that accumulates over time and can lead to chimney fires.
Identifying and removing creosote during the inspection helps prevent fire hazards and keeps your family safe.
B.Ensuring Efficiency
A clean and well-maintained kitchen chimney functions more efficiently. During the visual inspection, you can check for clogs in the flue or exhaust fan, which may hinder proper ventilation.
Addressing these issues ensures optimal performance, reducing energy consumption, and saving on utility bills.
By identifying minor wear and tear during inspections, you can fix them promptly, preventing the need for expensive repairs or chimney replacement.
How to Conduct a Visual Inspection?
Performing a visual inspection of your kitchen chimney doesn’t require special skills. Follow these simple steps to ensure a thorough inspection:
Check Exterior Surfaces: Inspect the chimney from the outside, looking for cracks, loose bricks, or signs of water damage. Ensure the chimney cap is intact to prevent water and debris from entering.
Inspect the Flue: Use a flashlight to examine the flue from inside the kitchen. Look for creosote buildup, bird nests, or any obstructions that might impede airflow.
Examine the Exhaust Fan: If your chimney has an exhaust fan, check if it’s working correctly. Clean any accumulated grease or dirt.
Inspect the Filters and Ducts: For chimney models with filters and ducts, check and clean them regularly to maintain efficiency.
Monitor Airflow: While the chimney is in use, observe the smoke’s direction to ensure it’s moving upward and exiting the chimney effectively.
Schedule Professional Inspections: While you can perform visual inspections, it’s vital to have a professional chimney sweep inspect your chimney annually.
2. Internal Inspection:
As a responsible homeowner, you may take great care of your kitchen, ensuring it is clean and tidy. However, there is one crucial aspect that often goes unnoticed – the kitchen chimney.
The kitchen chimney plays a vital role in keeping your kitchen smoke and odor-free.
Why do Internal Inspections Matter?
Kitchen chimneys are exposed to constant heat, oil, grease, and smoke, which can accumulate harmful substances inside the vent.
Over time, this build-up can obstruct the chimney’s airflow and decrease its efficiency.
Regular internal inspections help identify and address these issues promptly, ensuring that your chimney functions optimally.
How Often Should You Inspect?
Experts recommend conducting an internal inspection of your kitchen chimney at least once every six months.
However, if you cook frequently or use a lot of oil in your cooking, it is advisable to inspect your chimney more regularly – every three to four months.
Regular inspections will prevent potential hazards and expensive repairs in the long run.
DIY Internal Inspection Steps:
A. Turn Off the Power: Before starting the inspection, ensure that the chimney is not connected to any power source. This will guarantee your safety during the inspection process.
B. Remove Filters and Panels: Carefully detach the filters and panels from the chimney. Clean them thoroughly to eliminate grease and grime that might have accumulated.
C. Check for Build-up: Using a flashlight, inspect the internal walls of the chimney for any build-up of oil, grease, or debris. If you notice substantial accumulation, it’s time for a thorough cleaning.
D. Clean the Internal Components: With a soft cloth and a mixture of mild detergent and water, clean the internal components of the chimney. Ensure you reach all the nooks and crannies to remove stubborn grime.
E. Inspect the Motor and Fan: Examine the motor and fan for any signs of wear and tear. Lubricate the moving parts if necessary.
F. Reassemble the Chimney: After completing the inspection and cleaning, reassemble the chimney components carefully.
3. Motor and Fan Examination:
Regular kitchen chimney inspections, including motor and fan examination, are crucial for maintaining a safe and efficient kitchen environment.
The kitchen chimney plays a vital role in removing smoke, odors, and harmful gases produced during cooking, ensuring clean and healthy indoor air quality.
Here are some reasons why inspecting the motor and fan is essential:
A. Performance and Efficiency: The motor and fan are the heart of a kitchen chimney.
Over time, they can accumulate dust, grease, and debris, leading to reduced performance and efficiency.
Regular inspections help identify any issues early on, ensuring that the chimney continues to function optimally.
B.Safety: Kitchen chimneys prevent the accumulation of smoke and harmful pollutants that could otherwise lead to respiratory problems and pose a fire hazard.
Regular inspections of the motor and fan ensure that the chimney is operating safely, minimizing the risk of accidents and potential fire outbreaks.
C. Preventive Maintenance: Timely inspections and examinations allow for preventive maintenance measures to be taken.
Cleaning and lubricating the motor and fan components can extend their lifespan and reduce the likelihood of breakdowns, saving you from costly repairs or replacements.
D. Noise Reduction: A kitchen chimney with a malfunctioning motor or fan can produce excessive noise, which can be disruptive and annoying.
By inspecting and maintaining these components, you can ensure a quieter and more pleasant cooking experience.
E. Energy Efficiency: A well-maintained motor and fan can improve the overall energy efficiency of the kitchen chimney. When the system operates efficiently, it consumes less electricity, contributing to lower energy bills and reduced environmental impact.
F. Compliance with Manufacturer’s Warranty: Many kitchen chimneys come with a manufacturer’s warranty that requires regular maintenance and inspections.
Adhering to these guidelines ensures that your warranty remains valid and helps you take advantage of any repair or replacement coverage if needed.
G. Prolonging the Chimney’s Lifespan: Regular inspections and maintenance can significantly extend the life of your kitchen chimney. By identifying and addressing issues early, you can avoid severe damage that could otherwise lead to premature replacement.
4. Checking Ductwork:
As a responsible homeowner, it’s crucial to understand that your kitchen chimney plays a vital role in maintaining a clean and healthy cooking environment.
Over time, chimney ducts can accumulate grease, oil, and debris, leading to potential fire hazards and reduced efficiency.
we will explore the significance of kitchen chimney inspections, focusing on the importance of checking the ductwork.
During a kitchen chimney inspection, special attention should be given to the ductwork. Here’s what the inspection process typically entails:
A. Visual Examination
A professional technician will visually inspect the chimney’s ductwork for any visible signs of damage, such as cracks, dents, or loose joints. Additionally, they will look for grease or oil buildup that might obstruct the airflow.
B. Cleaning the Ducts
If grease or debris is found, the technician will clean the ducts thoroughly. This involves using specialized tools and cleaning agents to remove stubborn deposits and ensure optimal airflow.
C. Checking for Proper Venting
The technician will verify that the kitchen chimney is correctly vented to the outside. Improper venting can lead to the recirculation of smoke and contaminants indoors, defeating the purpose of having a chimney.
D. Lubrication and Maintenance
Moving parts within the chimney may require lubrication and minor adjustments to ensure smooth operation. The technician will address these issues during the inspection.
5. Check the Control Panel
Inspection Process
A. Safety First: Power Off
Before you begin any inspection or maintenance work, ensure your safety by switching off the power supply to the chimney. This step prevents any electrical mishaps and gives you the confidence to proceed with the inspection.
B.Visual Examination
Start by visually inspecting the control panel. Look for any signs of physical damage, loose buttons, or burnt marks. Check the display for clarity and functionality. If you notice any issues during this visual examination, it’s best to address them promptly or seek professional help.
C.Button Functionality Test
Next, perform a functionality test for all the buttons on the control panel. Press each button and verify if they respond correctly. Malfunctioning buttons can hinder the chimney’s performance, so make sure to replace faulty ones as soon as possible.
D.Display Check
Check for any flickering or erratic display behavior, as it could indicate an underlying problem. A properly functioning display ensures you can keep track of the chimney’s settings and timers.
6. Wiring Inspection
Inspect the wiring connections on the control panel Faulty wiring can lead to short circuits or erratic behavior, which may compromise the entire chimney’s functionality.
7. Circuit Board Examination
If you feel confident in handling technical aspects, remove the control panel cover to access the circuit board. Inspect the circuit board for any visible damage, such as burnt components or corrosion. However, if you’re unsure about this step, it’s better to seek professional assistance.
8. Cleaning and Maintenance
Throughout the inspection process, keep the control panel clean and free from grease or grime. Regular cleaning prevents the accumulation of dirt, ensuring smooth operation.
9. Verify the Lights
A. Preparation: Before beginning the inspection, ensure the kitchen chimney is turned off and unplugged to avoid any electric shock. You may want to have a flashlight, screwdriver, and cleaning cloth at hand for a thorough examination.
B. Removing the Cover: Most kitchen chimneys come with a detachable cover to access the lights. Gently remove the cover by loosening the screws with a screwdriver. Carefully set aside the screws to avoid misplacing them.
C. Inspecting the Lights: Once the cover is off, examine the lights carefully. Look for any signs of damage, such as cracks, blackening, or broken filaments. If you notice any issues, it’s time to replace the lights.
D. Cleaning the Lights: Even if the lights appear to be in good condition, they might have accumulated dust and grime. Wipe the sunshine with a cleaning cloth to ensure they provide maximum brightness.
E. Replacing Faulty Lights: If you identified any problems during the inspection, it’s best to replace the lights with new ones of the same wattage and size. Ensure that you follow the manufacturer’s guidelines while doing so.
F. Checking the Wiring: While the cover is off, take a moment to inspect the wiring connections. Look for any loose or damaged wires that may require repair.
G. Reassembling the Cover: Once you’ve completed the inspection and made any necessary replacements or repairs, carefully reassemble the cover and secure it with the screws.
H.Testing the Lights: Finally, turn on the kitchen chimney and test the lights to ensure they are functioning correctly. Enjoy the improved visibility and ambiance in your kitchen!
10. Schedule Professional Servicing: The Importance of Scheduling Professional Servicing
A. Enhancing Performance and Efficiency: Regular professional servicing of your kitchen chimney will keep it in top-notch condition.
Trained technicians can thoroughly clean and unclog the filters, fans, and ducts, which in turn improves the airflow and efficiency of the chimney.
As a result, you will experience quicker and more effective ventilation, making your cooking experience enjoyable and hassle-free.
B. Extending Lifespan: Like any other household appliance, kitchen chimneys have a limited lifespan.
However, with proper care and regular servicing, you can significantly extend its operational life.
Professional technicians can identify minor issues before they escalate, saving you from costly repairs or replacements in the future.
C. Ensuring Fire Safety: Grease buildup in the chimney can become a potential fire hazard. As the residue accumulates, the risk of a chimney fire increases.
Scheduling professional servicing allows technicians to inspect and clean all parts of the chimney thoroughly, reducing the chances of fire accidents and providing you with peace of mind.
Conclusion
A regular kitchen chimney inspection is a simple yet effective way to ensure a safe and enjoyable cooking experience.
By following the top 10 inspection processes and understanding the importance of maintenance, you can keep your kitchen chimney in top condition, allowing it to serve you for years to come. So, don’t forget to add chimney inspection to your kitchen maintenance routine.
FAQs
1. How often should I inspect my kitchen chimney? Ideally, you should inspect your kitchen chimney every three months. Regular inspection ensures early detection of issues and prevents major problems from occurring.
2. Can I clean the filters myself? Yes, you can clean the filters yourself. However, refer to the manufacturer’s instructions for the correct cleaning process.
3. Is professional servicing necessary if I inspect the chimney regularly? Yes, professional servicing is essential, even if you perform regular DIY checks. A professional technician can thoroughly clean and service the chimney, ensuring its optimal performance.
4. How long does a kitchen chimney usually last? The lifespan of a kitchen chimney depends on its usage and maintenance. With proper care, a good-quality chimney can last up to 10-15 years.
5. Can I install a kitchen chimney myself? While it is possible to install a kitchen chimney yourself, it is recommended to hire a professional installer to ensure correct and safe installation.